

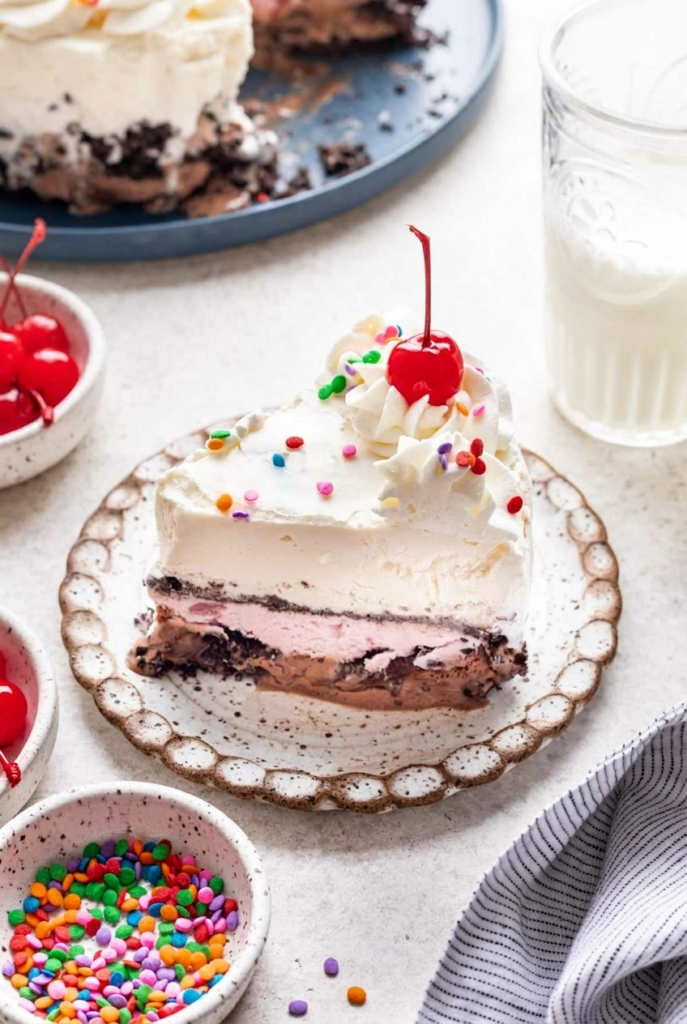
Copycat Dairy Queen Ice Cream Cake, Easy Homemade DQ Cake
This is the cake that disappears before dinner plates are even cleared. Someone always says they only want a “small slice” and then returns five minutes later pretending to check the freezer. Very transparent behavior honestly.
The homemade version somehow tastes even better. Thick fudge layer, crunchy Oreo center, creamy ice cream stacked into perfect frozen layers. No complicated baking. Mostly spreading things into a pan and exercising freezer patience. Arguably the hardest part.
❤️ Why You’ll Love This Recipe
- Perfectly Nostalgic – It tastes just like the classic DQ cake you grew up loving, from the fudge and crunch center to the creamy layers.
- Completely Customizable – The best part of making it at home! Swap in your favorite ice cream flavors, use different cookies, or even add a layer of caramel.
- Surprisingly Easy – This is more of an assembly project than a baking one. If you can spread ice cream, you can make this showstopper.
- Celebration-Ready – It’s the quintessential birthday cake that delights both kids and adults, making any occasion feel extra special.
🛠 Tools You’ll Need
- 9-inch springform pan 🎂
- Plastic wrap 🎗️
- Large mixing bowl 🥣
- Electric mixer (or stand mixer) ⚡
- Rolling pin or food processor 🔨
- Offset or rubber spatula 👩🍳
🥄 Key Ingredients
For the Ice Cream Layers:
- Chocolate, Strawberry & Vanilla Ice Cream (1 pint each) – This trio creates the classic Neapolitan vibe, but feel free to use any flavors you love! Letting it soften slightly is the key to easy spreading. 🍦
For the Crunchy Fudge Center:
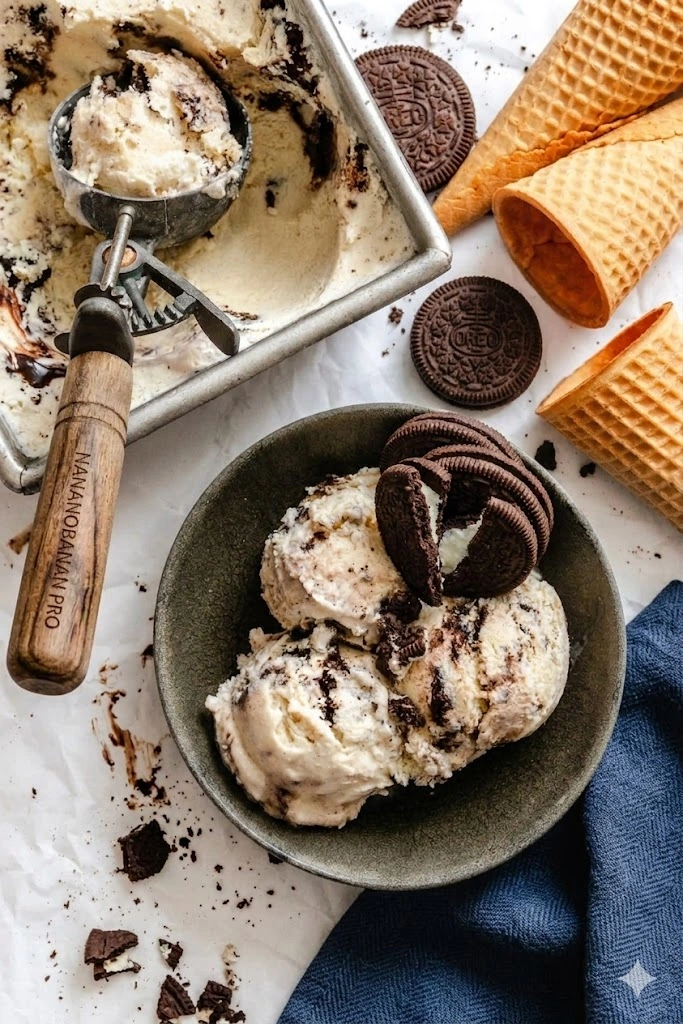
- Oreo Cookies (10 oz) – These provide the signature crunchy, chocolatey texture. Dark chocolate Oreos add an extra-rich flavor. 🍪
- Hot Fudge (½ cup) – Use a thick, good-quality hot fudge sauce, not a thin chocolate syrup. This ensures you get that perfectly chewy, fudgy layer. 🍫
For the Whipped Topping:
- Cold Heavy Whipping Cream (2 cups) – The base of our light and fluffy frosting. It MUST be very cold to whip up properly. 🌬️
- Powdered Sugar (⅓ cup) – Sweetens and stabilizes the whipped cream.
- Vanilla Extract (1 tsp) – Adds a touch of classic bakery flavor.
- Sprinkles – Because every celebration cake needs a pop of color! ✨
🍳 How to Make Homemade Dairy Queen Ice Cream Cake
- Prep Your Pan: Line a 9-inch springform pan with plastic wrap, leaving a generous overhang on the sides. This will be your secret weapon for lifting the cake out flawlessly later. 🎗️
- Create the Cookie Base: Crush your Oreo cookies into fine crumbs using a food processor or a rolling pin and a zip-top bag. Spread ⅓ of the crumbs into the bottom of your prepared pan and press into an even layer. This is your foundation!
- Layer 1: Chocolate Bliss: Let your chocolate ice cream soften on the counter for about 10 minutes until it’s spreadable but not melted. Carefully spread it over the cookie crust in an even layer.
- Add the Fudge & Crunch: Gently pour the room-temperature hot fudge over the chocolate ice cream. Sprinkle another ⅓ of the cookie crumbs evenly over the fudge. This is the iconic center everyone loves! 😍
- First Freeze: Cover the pan with plastic wrap and pop it into the freezer for 30-45 minutes, or until the fudge layer is firm to the touch.
- Layer 2: Strawberry Fields: While the first layer is freezing, let your strawberry ice cream soften. Once the chocolate layer is set, spread the strawberry ice cream on top, followed by the remaining ⅓ of cookie crumbs. 🍓
- Second Freeze: Cover it up again and freeze for another 30-45 minutes until the strawberry layer is firm. Patience is key to distinct layers!
- Layer 3: Vanilla Top: Let your vanilla ice cream soften. Spread it evenly over the cookie crumb layer to create the final top layer of the cake.
- The Big Freeze: Cover the cake tightly with plastic wrap and freeze for at least 4 hours, or preferably overnight. This ensures the cake is completely solid and easy to slice. ❄️
- Whip the Topping: About an hour before serving, make the whipped cream. In a large, chilled bowl, beat the cold heavy cream with an electric mixer until soft peaks form. Add the powdered sugar and vanilla, and continue beating until stiff peaks form.
- Frost & Decorate: Remove the cake from the freezer. Working quickly, spread the whipped cream all over the top and sides of the cake. Immediately add your sprinkles before the whipped cream freezes. 🎉
- Final Chill & Serve: Place the uncovered cake back in the freezer for 30-60 minutes to set the frosting. To serve, run a thin knife around the edge, release the springform collar, and use the plastic wrap overhangs to lift the cake onto a serving platter. Slice with a warm knife and enjoy immediately!
💡 Tips for Success
- Work Quickly – Ice cream melts fast! Have all your ingredients and tools ready to go before you start assembling to keep everything as cold as possible.
- Soften, Don’t Melt – The perfect consistency for spreading is key. Aim for ice cream that’s soft enough to spread easily but not liquidy, which would make the layers messy. 10 minutes on the counter is usually perfect.
- Thick Fudge is a Must – A thin chocolate syrup will soak into the ice cream and disappear. A thick, jarred hot fudge will give you that distinct, chewy layer.
- Chill Your Tools – For the fluffiest whipped cream, place your mixing bowl and beaters in the freezer for 15 minutes before you start.
🆘 Troubleshooting Guide
- Problem: My cake layers are blending together.
Likely Cause: The previous layer wasn’t frozen solid before adding the next one.
Solution: Be patient! Ensure each layer is firm to the touch before adding the next. Don’t rush the freezing steps. - Problem: My fudge layer is rock hard and difficult to cut.
Likely Cause: The type of fudge sauce used freezes very hard.
Solution: Let the cake sit at room temperature for 5-10 minutes before slicing. Running your knife under hot water before each cut will also help slice through it cleanly. - Problem: My whipped cream topping is runny.
Likely Cause: The heavy cream was not cold enough, or it was over-whipped.
Solution: Make sure your cream is straight from the fridge and use a chilled bowl. Beat just until stiff peaks form—if you go too far, it can start to break down.
👩🍳 Pro Chef Tips
- Perfectly Clean Slices: For photo-worthy slices, dip a large, sharp knife in a tall glass of hot water, wipe it dry with a towel, and make one clean cut. Repeat for every single slice.
- Piped Decorations: Want that classic DQ piped border? Double the whipped cream recipe. Use about half to frost the cake, then transfer the rest to a piping bag with a star tip to create decorative shells around the top and bottom edges.
- Flavor Twists: Swap the hot fudge for a thick caramel or peanut butter sauce. Use crushed Nutter Butters or chocolate chip cookies instead of Oreos. The possibilities are endless!
☕ Perfect Pairings
- A steaming mug of hot coffee or espresso ☕
- A tall, cold glass of milk 🥛
- An extra drizzle of warm hot fudge or caramel sauce 🍫
- A handful of fresh berries on the side 🍓
📦 How to Store
- Ice Cream Cake: Once assembled and frosted, wrap the cake tightly in a layer of plastic wrap, followed by a layer of aluminum foil to prevent freezer burn. It will keep beautifully in the freezer for up to 1 month for best quality, but can last up to 3 months.

Get Recipes on Pinterest
📌 More Recipes You’ll Love
- 🎀 Soft Sour Cream Cookies with Pink Frosting
- 🍪 Ultra-Soft Cinnamon Cream Cheese Cookies
- 💚 Grinch Snowball Cookies – Buttery, Green & Full of Holiday Cheer!
- 🍋 Ooey Gooey Butter Cookies – The Softest Cookie You’ll Ever Taste

Queen Ice Cream Cake
Description
There's nothing quite like the pure joy of an ice cream cake, and this homemade version of the Dairy Queen classic brings all that nostalgic happiness right to your freezer. It’s a beloved dessert that has marked countless birthdays and summer celebrations, and for good reason! The magic lies in its delightful textural contrasts: the velvety smoothness of the ice cream, the rich, chewy pull of the fudge layer, and the satisfying crunch of the chocolate cookie crumble nestled in the middle. It’s a symphony of cold, creamy, and crunchy in every single bite.
Ingredients

Instructions
-
Line a 9-inch springform pan with plastic wrap, leaving enough overhang on the sides to help lift the cake out later.
-
Crush the Oreo cookies into fine crumbs using a food processor or rolling pin. Press one-third of the crumbs evenly into the bottom of the pan to form the base layer.
-
Let the chocolate ice cream soften slightly for about 10 minutes until spreadable. Spread it evenly over the Oreo layer using a spatula.
-
Spread the room-temperature hot fudge over the chocolate ice cream. Sprinkle another third of the Oreo crumbs evenly across the top.
-
Cover the pan and freeze for 30 to 45 minutes until the layer feels firm to the touch. This keeps the layers clean instead of turning into frozen soup.
-
Spread the softened strawberry ice cream evenly over the chilled fudge layer. Top with the remaining Oreo crumbs and freeze again for another 30 to 45 minutes.
-
Spread the softened vanilla ice cream over the top layer until smooth and even. Cover tightly and freeze for at least 4 hours, preferably overnight, until completely firm.
-
In a cold mixing bowl, beat the heavy whipping cream until soft peaks form. Add the powdered sugar and vanilla extract, then continue beating until stiff peaks form.
-
Remove the cake from the freezer and quickly spread the whipped cream over the top and sides. Add sprinkles immediately before the frosting starts firming up.
-
Return the cake to the freezer for 30 to 60 minutes to set the whipped topping properly.
-
Release the springform pan and lift the cake onto a serving plate using the plastic wrap. Let it sit for about 5 minutes before slicing with a warm knife for cleaner cuts. Tiny bakery trick. Makes you look suspiciously professional.