

Easy No-Churn Vanilla Ice Cream, Creamy 4-Ingredient Recipe
This is the kind of recipe that feels suspiciously easy for how good it turns out. Four ingredients, no machine, barely any effort, and suddenly your freezer contains something that tastes like it came from an expensive little ice cream shop with tiny spoons and emotional lighting.
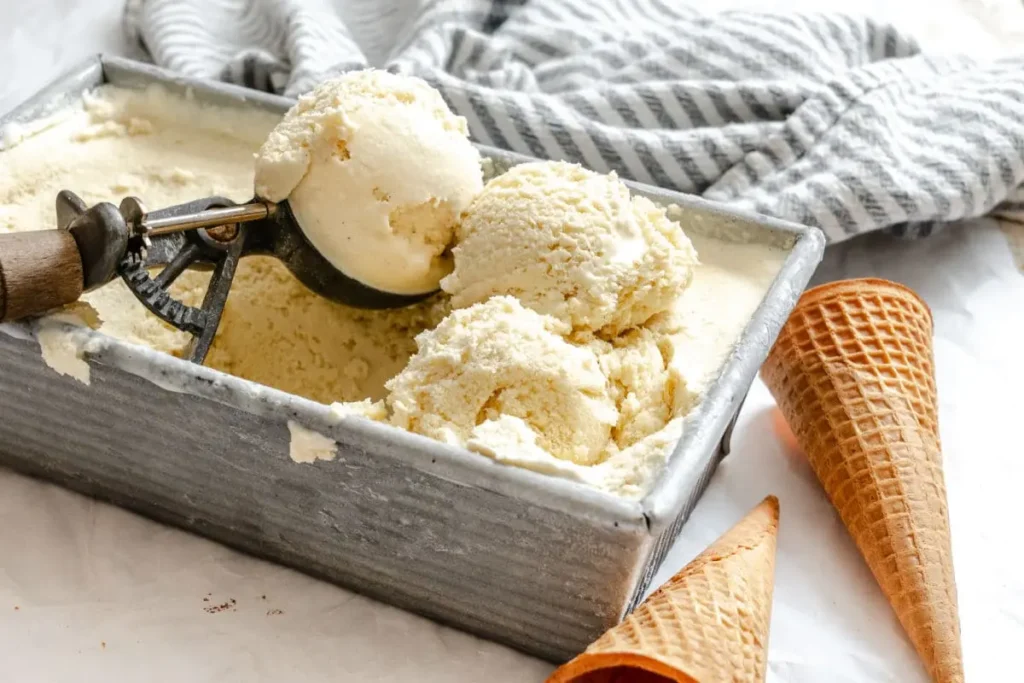
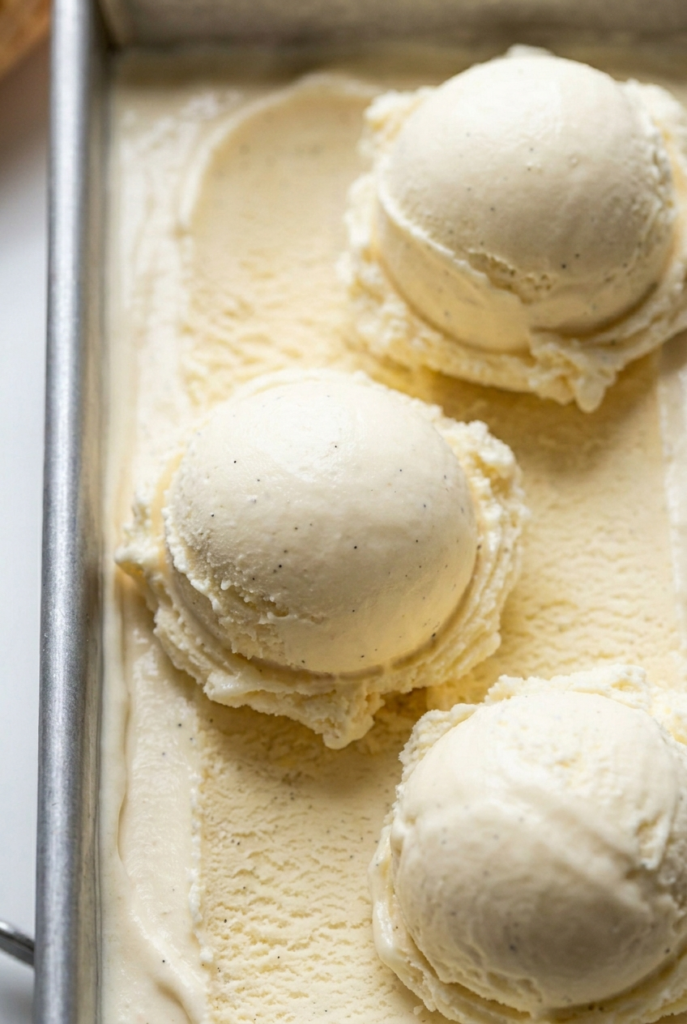
The texture is the real flex here. Smooth, creamy, scoopable straight from the freezer. No icy weirdness. Just rich vanilla ice cream ready for brownies, pies, sundaes, or standing in the kitchen eating spoonfuls directly from the loaf pan while pretending you are “checking the texture.” A respected tradition honestly.
❤️ Why You’ll Love This Recipe
- No Machine Needed – Seriously, no ice cream maker required! All you need is a mixer to whip the cream to perfection.
- Just 4 Simple Ingredients – You likely have everything you need right now: heavy cream, sweetened condensed milk, vanilla, and a pinch of salt. It’s that easy!
- Unbelievably Creamy – The combination of whipped cream and condensed milk creates a velvety, rich texture that rivals any premium store-bought brand.
- The Perfect Blank Canvas – This classic vanilla is divine on its own, but it’s also the perfect base for all your favorite mix-ins, from chocolate chips to caramel swirls.
🛠 Tools You’ll Need
- Electric Mixer (Hand or Stand) 믹서
- Large Mixing Bowls 🥣
- Rubber Spatula
- 9×5 inch Loaf Pan (metal is best!)
🥄 Key Ingredients
This recipe’s magic lies in its simplicity. Here’s what makes it work:
- Sweetened Condensed Milk (1 14-ounce can) – This is our secret weapon! It provides sweetness and sugar, which prevents large ice crystals from forming, ensuring a soft, scoopable texture right from the freezer. ✨
- Cold Heavy Cream (2 cups) – It’s essential to use cold, full-fat heavy cream. When whipped, it creates the light, airy structure of the ice cream. ☁️
- Pure Vanilla Extract or Bean Paste (2 tsp) – This is where the flavor comes from! Use a high-quality vanilla for the best, most aromatic result. Vanilla bean paste will give you those gorgeous little specks.
- A Pinch of Salt – Don’t skip it! A tiny bit of salt enhances the vanilla and balances the sweetness, making the flavor pop. 🤏
🍳 How to Make No-Churn Vanilla Ice Cream
- Create the Sweet Base: In a large bowl, whisk together the sweetened condensed milk, vanilla, and salt until smooth and fully combined. Set this aside for a moment. 🥣
- Whip the Cream: In a separate, chilled bowl, use an electric mixer to whip the cold heavy cream on medium-high speed. Keep whipping until firm, stiff peaks form—this should take about 2-3 minutes. The cream should hold its shape when you lift the beaters.
- Gently Fold It All Together: Lighten the condensed milk mixture by folding in about 1 cup of the whipped cream with a spatula. Once that’s combined, gently fold the lightened milk mixture back into the rest of the whipped cream. Fold until just combined—be careful not to deflate all that beautiful air you whipped in! 🌬️
- The First Freeze: Pour the creamy mixture into a chilled 9×5 inch metal loaf pan and spread it evenly. Cover it with plastic wrap or a lid and freeze for about 2 hours, or until it has the consistency of soft-serve ice cream.
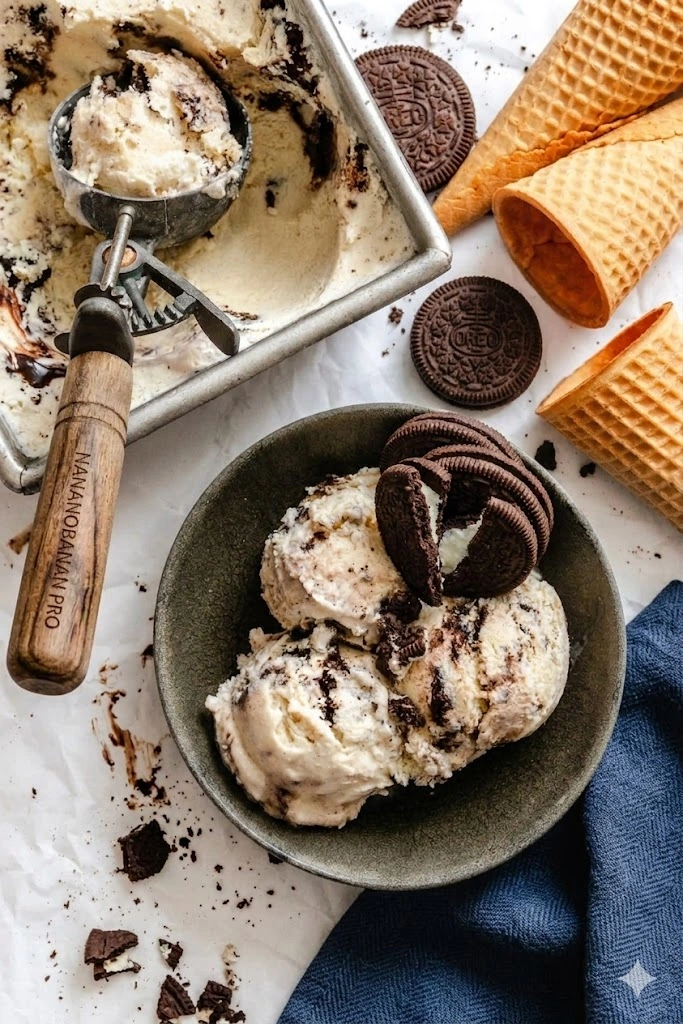
- Add Mix-ins (Optional!): If you’re adding any extras like cookie dough, chocolate chips, or fruit swirls, now is the time! Gently stir them into the semi-frozen ice cream.
- The Final Freeze: Cover the pan again and return it to the freezer for at least 3-4 more hours, or until it’s completely firm and scoopable. Enjoy your homemade masterpiece! 🍨
💡 Tips for Success
- Chill Everything – For the fluffiest whipped cream, make sure your heavy cream, mixing bowl, and beaters are very cold. Pop them in the freezer for 15 minutes before you start!
- Don’t Undermix the Cream – You need stiff peaks! This airy structure is what prevents the ice cream from becoming a solid, icy block.
- Fold, Don’t Stir – When combining the whipped cream and condensed milk, use a gentle folding motion to preserve the air you worked so hard to incorporate.
- Use a Metal Pan – A metal loaf pan will get colder faster and freeze the ice cream more evenly than a glass or ceramic one.
🆘 Troubleshooting Guide
- Problem: My ice cream is icy, not creamy.
Likely Cause: The cream was under-whipped, or you used a lower-fat cream or milk.
Solution: Ensure you whip the heavy cream to stiff, firm peaks. The air is crucial for texture. Always use full-fat heavy cream and full-fat sweetened condensed milk for the best results. - Problem: My ice cream never firmed up completely.
Likely Cause: Your freezer might not be cold enough, or you added mix-ins with high water or alcohol content.
Solution: Check your freezer’s temperature. If you’re adding alcohol-based extracts or a splash of liquor, use it sparingly as alcohol lowers the freezing point.
👩🍳 Pro Chef Tips
- Infuse Your Cream: For a next-level vanilla flavor, gently warm the cream with a split vanilla bean. Let it steep for 30 minutes, then strain and chill it completely before whipping.
- A Splash of Booze: Adding 1 tablespoon of a neutral spirit like vodka or a complementary liqueur like vanilla schnapps can help prevent ice crystals and keep the ice cream even softer.
- Press to Protect: Before covering the pan for the final freeze, press a piece of plastic wrap or parchment paper directly onto the surface of the ice cream. This prevents ice crystals from forming on top.
☕ Perfect Pairings
- A warm, fudgy brownie 🍫
- A slice of classic apple pie 🥧
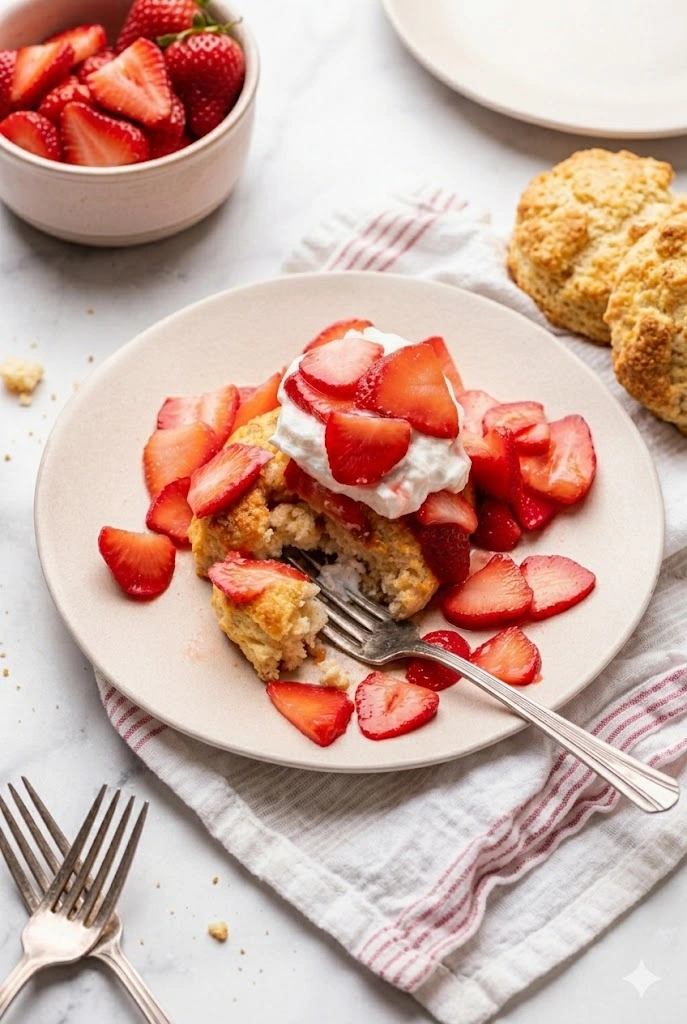
- Fresh summer berries and mint 🍓
- Drizzled with hot fudge or salted caramel sauce
- Alongside a rich cup of espresso for a simple affogato ☕
📦 How to Store
- Homemade Ice Cream: Store in an airtight, freezer-safe container with plastic wrap pressed against the surface. It will keep beautifully in the freezer for up to 2-3 months, though the texture is best within the first month.

Get Recipes on Pinterest
📌 More Recipes You’ll Love
- 🎀 Soft Sour Cream Cookies with Pink Frosting
- 🍪 Ultra-Soft Cinnamon Cream Cheese Cookies
- 💚 Grinch Snowball Cookies – Buttery, Green & Full of Holiday Cheer!
- 🍋 Ooey Gooey Butter Cookies – The Softest Cookie You’ll Ever Taste
No-Churn Vanilla Ice Cream
Description
Discover the pure magic of homemade ice cream without any of the fuss. This No-Churn Vanilla Ice Cream recipe is a revelation, transforming four everyday ingredients into a dessert of unparalleled creaminess and rich flavor. The secret lies in the brilliant combination of sweetened condensed milk, which provides sugar and solids to keep the ice cream soft and scoopable, and airy whipped cream, which mimics the texture created by a traditional ice cream maker's churning process. The result is a dense, velvety ice cream with a clean, classic vanilla taste that's both nostalgic and sophisticated.
Ingredients

Instructions
-
Prepare the vanilla base
In a large mixing bowl, whisk together the sweetened condensed milk, vanilla extract, and a pinch of salt until completely smooth.
-
Whip the heavy cream
In a separate chilled bowl, beat the cold heavy cream with an electric mixer on medium-high speed until stiff peaks form. The cream should hold its shape firmly when you lift the beaters.
-
Lighten the mixture
Fold about 1 cup of the whipped cream into the condensed milk mixture using a spatula. This step lightens the base and makes it easier to combine without deflating the whipped cream.
-
Fold everything together
Gently fold the lightened mixture into the remaining whipped cream until fully combined. Work slowly and carefully to keep as much air in the mixture as possible. That air is what gives the ice cream its soft, creamy texture.
-
Transfer to the pan
Pour the mixture into a chilled 9x5-inch loaf pan and smooth the top evenly with a spatula.
-
Freeze the first time
Cover the pan with plastic wrap or a lid and freeze for about 2 hours. At this stage, the ice cream should resemble soft serve.
-
Add mix-ins if desired
If you want to add chocolate chips, crushed cookies, caramel swirls, or fruit, gently fold them in after the first freeze. This keeps them evenly distributed instead of sinking straight to the bottom like little dessert anchors.
-
Freeze until firm
Cover the pan again and freeze for at least 3 more hours, or until completely firm and scoopable.