

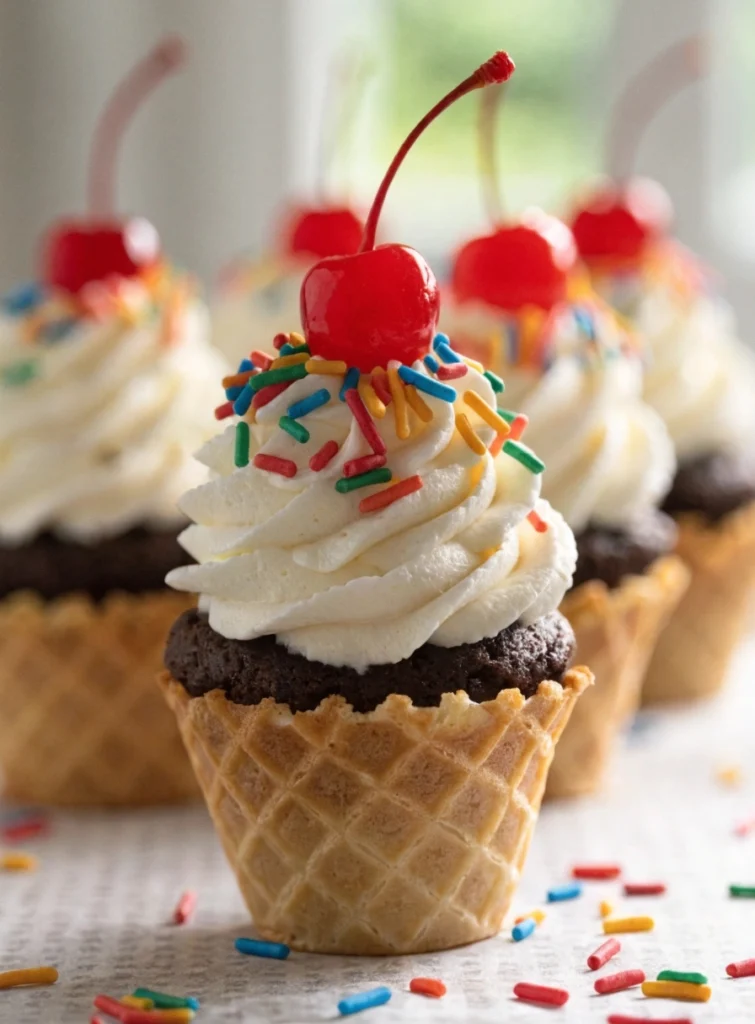
Chocolate Ice Cream Cone Cupcakes, Fun Birthday Party Dessert
These cupcakes cause immediate chaos at birthday parties. Someone always grabs one thinking it’s actual ice cream. Tiny betrayal. Very funny every single time.
The best part is the cone bakes right with the cupcake, so there’s no wrapper mess and somehow everything feels more exciting. Rich chocolate cake inside, fluffy vanilla frosting on top, sprinkles everywhere. Basically the dessert version of confetti.
❤️ Why You’ll Love This Recipe
- Kid-Friendly Fun – The perfect, whimsical treat for birthday parties, school events, and bake sales. Kids go absolutely wild for them!
- No Mess, All Magic – The cone acts as a brilliant, built-in wrapper. No greasy cupcake liners to peel away, just pure, edible joy.
- Perfectly Portioned – These individual treats are incredibly easy to serve and enjoy, making them ideal for any gathering.
- Completely Customizable – Let your creativity run wild! Decorate them with any frosting flavor, topping, or drizzle you can dream of.
🛠 Tools You’ll Need
- Standard 12-cup Muffin Tin 🧁
- Aluminum Foil
- Large Mixing Bowl 🥣
- Whisk
- Electric Mixer (Hand or Stand) 🌪️
- Piping Bag with a Star Tip (optional, for that perfect swirl!) 🌟
- Wire Cooling Rack
🥄 Key Ingredients
For the Chocolate Cupcakes:
- Cake Ice Cream Cones (12) – The star of the show! Use the flat-bottomed kind, as they stand up perfectly for baking. 🍦
- Buttermilk (¼ cup) – This acidic ingredient adds a wonderful tang and reacts with the baking soda to create an incredibly tender, fluffy crumb. 🥛
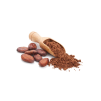
- Unsweetened Cocoa Powder (½ cup) – Provides that deep, rich chocolate flavor that forms the heart of this recipe. 🍫
- Hot Water (½ cup) – This secret weapon blooms the cocoa powder, unlocking its full flavor potential for an intensely chocolatey cake. ☕️
- All-Purpose Flour (1 ¾ cups) – The foundation of our cake. Be sure to measure it correctly (by weight or the spoon-and-level method) for a light texture. ⚖️
For the Vanilla Buttercream:
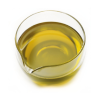
- Butter (½ cup) – Use softened, salted butter for the best flavor and a super creamy, luscious texture. 🧈
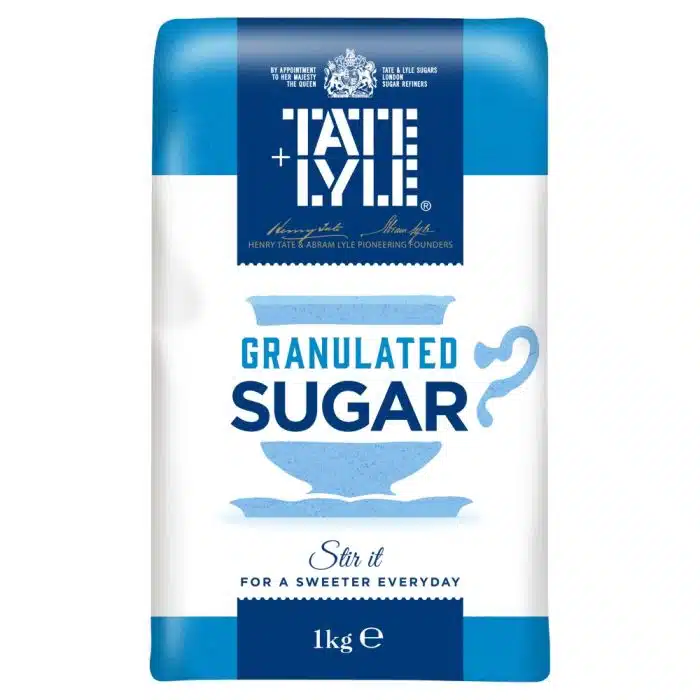
- Powdered Sugar (1 ½–2 cups) – Sift it to avoid any lumps and achieve a silky-smooth, professional-quality frosting. ❄️
- Heavy Cream (1–2 ½ tbsp) – This makes the frosting light, fluffy, and perfectly pipeable for that signature ice cream swirl. ☁️
🍳 How to Make Ice Cream Cone Cupcakes
- Prep Your Baking Station: Preheat your oven to 350°F (175°C). Create a clever stand by tightly wrapping a sheet of aluminum foil over a muffin tin. Carefully cut a small ‘X’ in the center of each cup to hold the cones. ✨
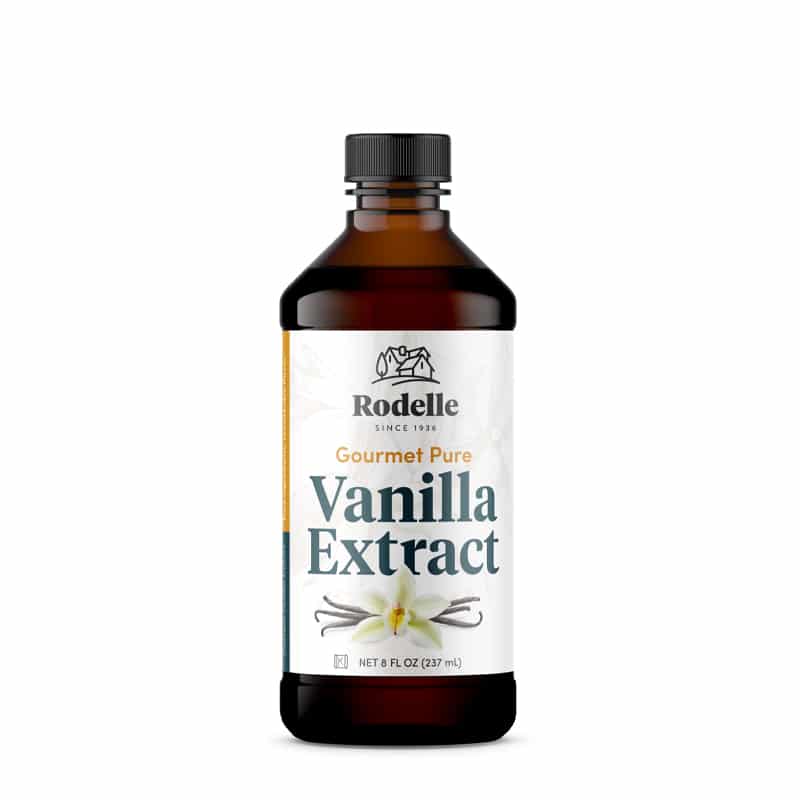
- Mix the Wet Ingredients: In a large bowl, whisk together the egg, vegetable oil, buttermilk, both sugars, and vanilla extract until the mixture is completely smooth and emulsified.
- Combine the Dry Ingredients: Add the sifted flour, cocoa powder, salt, and baking soda to the wet ingredients. Stir gently *just* until combined – overmixing can lead to a tough cupcake!
- Bloom the Cocoa: Gently stir in the hot water. The batter will become quite thin, but don’t worry, this is the secret to a super moist cake!
- Set Up Your Cones: Gently press one ice cream cone into each foil slit in your prepared muffin tin so they stand upright and stable.
- Fill ‘Em Up: Carefully divide the batter among the 12 cones. Fill each one about two-thirds full to leave room for the cake to rise without overflowing.
- Bake to Perfection: Bake for 20-30 minutes. The magic is done when a wooden toothpick inserted into the center of a cupcake comes out clean. 🧁
- Cool Down Completely: Transfer the cupcakes to a wire rack and let them cool 100%. Patience is crucial here; frosting warm cupcakes leads to a melty mess!
- Whip the Buttercream: In a separate bowl, use an electric mixer to beat the softened butter on medium speed for 2-3 minutes until it’s light and fluffy.
- Sweeten the Deal: Gradually add 1 ½ cups of the powdered sugar, beating well after each addition. Mix in the vanilla and a pinch of salt.
- Achieve Perfect Fluffiness: Beat in the heavy cream, one tablespoon at a time, until you reach a dreamy, light, and pipeable consistency. Add more powdered sugar or cream as needed to get it just right.
- Decorate and Dazzle: Pipe a generous swirl of frosting onto each cooled cupcake. Go wild with your favorite sprinkles and serve immediately! 🎉
💡 Tips for Success
- Don’t Overfill – Filling the cones just 2/3 full is the sweet spot. Any more and the batter will overflow during baking, creating a sticky situation.
- Flat-Bottom Cones Only – This is non-negotiable! Pointed sugar or waffle cones will tip over in the oven. Stick to the classic, flat-bottomed cake cones for stability.
- Cool Completely – We can’t stress this enough! Applying frosting to even slightly warm cupcakes will cause it to melt and slide right off. Let them sit until they are fully at room temperature.
- Sift for Smoothness – For the silkiest cake and frosting, always sift your flour, cocoa powder, and powdered sugar. It makes a world of difference in the final texture.
🆘 Troubleshooting Guide
- Problem: My cones tipped over while baking.
Likely Cause: You may have used pointed cones, or the ‘X’ cuts in the foil were too large.
Solution: Only use flat-bottomed cake cones. Ensure the foil slits are just large enough for the cone to sit snugly without wobbling. - Problem: My cupcakes turned out dry.
Likely Cause: The cupcakes were over-baked, or the flour was measured incorrectly.
Solution: Start checking for doneness at the 20-minute mark. For best results, measure flour by weight or use the spoon-and-level method to avoid packing it in. - Problem: My frosting is runny and won’t hold its shape.
Likely Cause: The butter was too soft, or you added too much cream.
Solution: Place the frosting bowl in the refrigerator for 20-30 minutes to firm up. If it’s still too soft, beat in more powdered sugar, a quarter cup at a time, until it thickens.
👩🍳 Pro Chef Tips
- Deepen the Chocolate: Add ½ teaspoon of instant espresso powder to the hot water before mixing it into the batter. It won’t taste like coffee, but it will make the chocolate flavor incredibly rich and complex.
- A Fun Surprise Inside: Before frosting, use an apple corer to remove a small piece from the center of each cupcake. Fill the hole with sprinkles or mini chocolate chips for a hidden treat when you bite in!
- The Perfect Swirl Technique: For that professional ice-cream-parlor look, use a large star piping tip (like a Wilton 1M). Start piping on the outside edge and spiral inwards and upwards to create a beautiful peak.
☕ Perfect Pairings
- A tall, frosty glass of cold milk 🥛
- A scoop of *actual* vanilla bean ice cream on the side for a double-dessert delight 🍨
- A festive, bubbly fruit punch for a party atmosphere 🍓
📦 How to Store
- Finished Cupcakes: Store in a tall, airtight container in the refrigerator. The cool air helps keep the cones crisp. They are best enjoyed within 3 days.

Get Recipes on Pinterest
📌 More Recipes You’ll Love
- 🎀 Soft Sour Cream Cookies with Pink Frosting
- 🍪 Ultra-Soft Cinnamon Cream Cheese Cookies
- 💚 Grinch Snowball Cookies – Buttery, Green & Full of Holiday Cheer!
- 🍋 Ooey Gooey Butter Cookies – The Softest Cookie You’ll Ever Taste
Ice Cream Cone Cupcakes🧁
Ingredients

Frosting
Instructions
-
Preheat the oven to 350°F. Cover a standard muffin tin tightly with aluminum foil and cut a small X in the center of each muffin space. Gently place one flat-bottomed cake cone into each opening so they stand upright securely.
-
In a large mixing bowl, whisk together the egg, vegetable oil, buttermilk, granulated sugar, brown sugar, and vanilla extract until smooth and fully combined.
-
Add the sifted flour, cocoa powder, baking soda, and salt into the bowl. Stir gently until no dry streaks remain. Do not overmix or the cupcakes can turn dense.
-
Slowly stir in the hot water until the batter becomes smooth and thin. This step helps create an extra moist chocolate cake texture with deeper cocoa flavor.
-
Carefully spoon the batter into each cone, filling them about two-thirds full. Resist the temptation to overfill. The batter rises more than people expect. Like bread dough with confidence issues.
-
Bake for 20 to 30 minutes, or until a toothpick inserted into the center comes out clean. Transfer the cupcakes to a wire rack and let them cool completely before frosting.
-
In a separate bowl, beat the softened butter until light and fluffy. Gradually mix in the powdered sugar, followed by the vanilla extract and a pinch of salt. Add heavy cream one tablespoon at a time until the frosting becomes smooth, fluffy, and easy to pipe.
-
Pipe or spread the frosting onto the cooled cupcakes in a tall swirl to mimic soft-serve ice cream. Finish with colorful sprinkles on top.
-
Serve immediately or refrigerate until ready to eat. The cones stay crisp best within the first couple of days. After that they soften a little, but honestly nobody complains once frosting enters the conversation.