These Oreo Balls are the ultimate no-bake dessert for when you want something indulgent, effortless, and guaranteed to impress. Made with just three simple ingredients Oreo cookies, cream cheese, and melted chocolate these bite-sized treats have a rich, truffle-like texture that melts in your mouth.
Perfect for holidays, parties, or last-minute cravings, they’re easy to prepare, easy to store, and always disappear fast.
• 3-Ingredient Simplicity: You only need Oreos, cream cheese, and chocolate to create a gourmet-style truffle.
• No-Bake Magic: No oven required! This is the perfect recipe for hot summer days or when your oven is busy during the holidays.
• Crowd-Pleaser: These are always the first to go at any party, potluck, or dessert exchange.
• Make-Ahead Friendly: They store beautifully in the fridge or freezer, making them ideal for stress-free entertaining.
• Endlessly Customizable: Switch up the Oreo flavors or the chocolate coating to create dozens of different variations.
For the Oreo Balls:
Oreo cookies – Use the whole cookie, including the filling.
Cream cheese – Softened to room temperature for easy mixing. 🧈
For the Coating:
Chocolate melting wafers or candy coating – Creates a smooth, glossy finish.
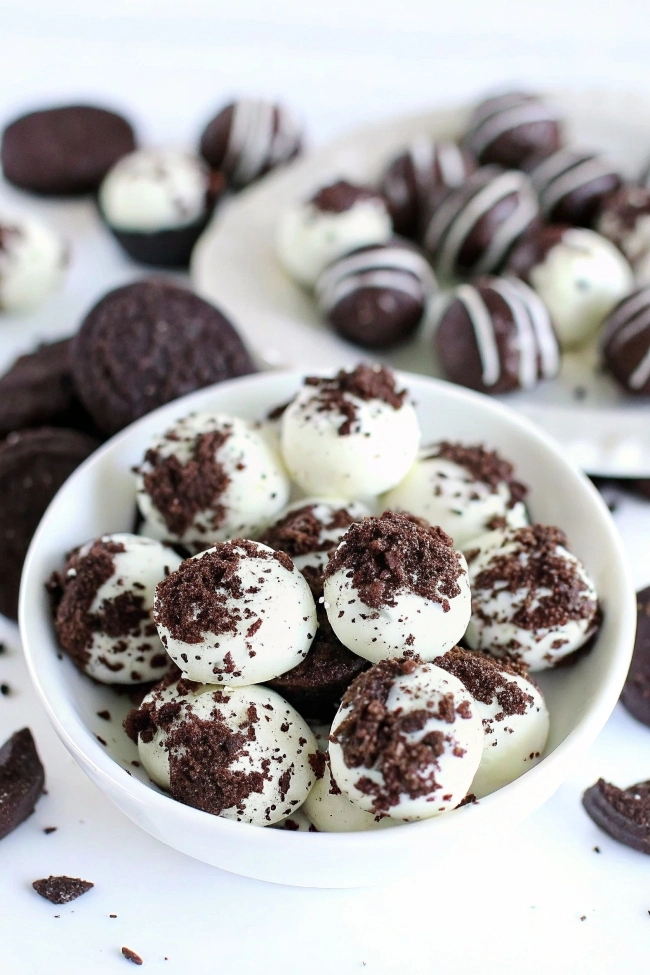
White chocolate melting wafers or candy coating – Optional, for color contrast.
For Decorating (Optional):
Melted chocolate, crushed Oreos, sprinkles, crushed peppermint, or chopped nuts.
1. Crush the Oreos:
Pulse the cookies in a food processor until they become fine crumbs. Ensure there are no large chunks left, as this affects the texture.
2. Mix the Filling:
Beat the softened cream cheese until smooth. Add the Oreo crumbs and mix until the mixture is thick, dark, and fully combined.
3. Roll into Balls:
Scoop about 1 tablespoon of the mixture and roll it between your palms to form 1-inch balls. Place them on a lined baking sheet.
4. The Essential Freeze:
Place the tray in the freezer for 15 minutes. This step is crucial—it firms up the balls so they don't fall apart or melt when dipped in warm chocolate.
5. Melt the Coating:
Melt your chocolate wafers in the microwave in 30-second intervals, stirring in between until perfectly smooth.
6. Dip & Decorate:
Using a fork, dip each chilled ball into the chocolate. Tap off the excess and return to the tray. Decorate immediately before the chocolate sets!
7. Final Chill:
Refrigerate for at least 1 hour until the chocolate is completely firm and set.
Use Soft Cream Cheese: Cold cream cheese won’t blend smoothly and can cause lumps.
Freezing Is Essential: Skipping the freeze step can cause the balls to fall apart when dipping.
Use Melting Wafers: Candy coating melts smoother and sets better than regular chocolate chips.
Decorate Quickly: Add toppings right after dipping before the chocolate sets.
Problem: The balls fall apart when dipping.
Likely Cause: Not frozen long enough or cream cheese too warm.
Solution: Freeze for at least 15 minutes. Chill the mixture longer if needed.
Problem: Chocolate coating is thick or seized.
Likely Cause: Overheated chocolate or moisture contamination.
Solution: Melt slowly and add 1 teaspoon of vegetable oil or shortening if needed.
Problem: Dull or streaky coating.
Likely Cause: Chocolate was too hot or temperature changed too quickly.
Solution: Let melted chocolate cool slightly before dipping.
Flavor Variations: Try Mint, Peanut Butter, or Golden Oreos.
Gifting: Package in decorative tins for a homemade holiday gift.
Stacking: Place parchment paper between layers when storing.
Cold Milk – A classic Oreo companion.
Coffee or Espresso – Balances the sweetness.
Peppermint Hot Chocolate – Especially festive with peppermint toppings.
Vanilla Ice Cream – Turns this into a plated dessert.
Refrigerator: Store in an airtight container for up to 3 weeks.
Freezer: Freeze for up to 2 months. Thaw in the refrigerator before serving.

A quick, no-bake dessert made with crushed Oreos, cream cheese, and chocolate. Perfect for holidays, parties, and easy gifting.