

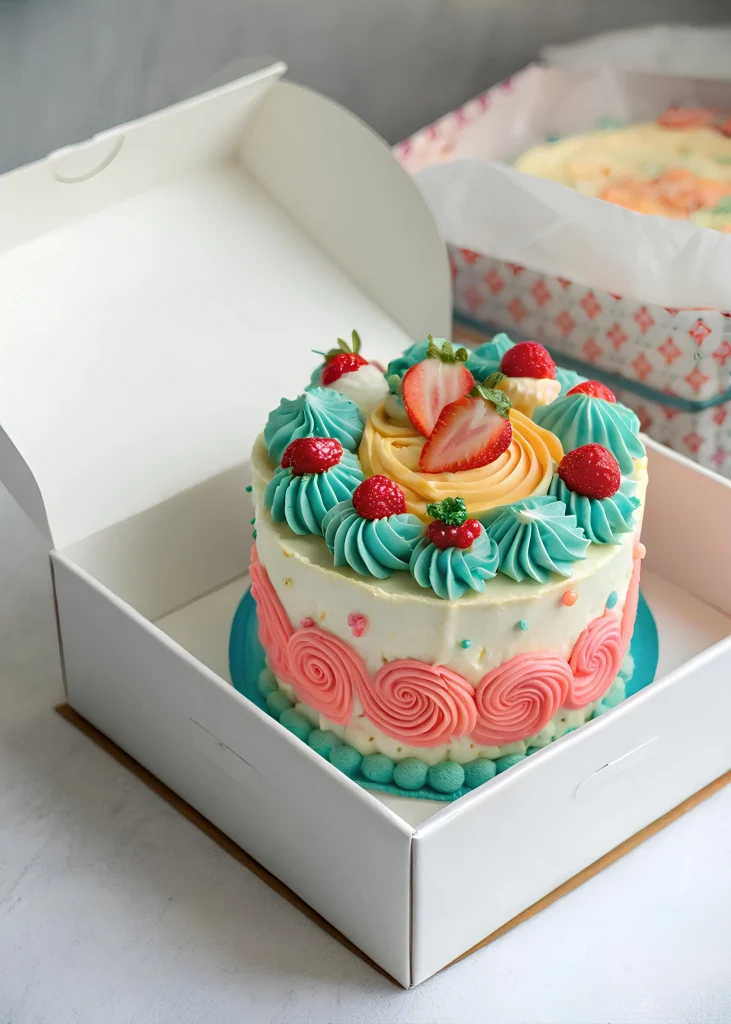
These Mini Chocolate Lunchbox Cakes, also known as Bento Cakes, are the trendiest and sweetest way to surprise someone special. Featuring a soft, rich chocolate sponge and creamy vanilla buttercream, these pint-sized treats are perfect for birthdays, anniversaries, or “just because” gifts. With their Instagram-worthy pastel piping and personalized messages, they are as beautiful to look at as they are delicious to eat.
🧁 Why These Cakes Are So Worth It
• Maximum Charm, Mini Size: These adorable cakes are perfectly portioned for one or two people, making them the ultimate thoughtful edible gift.
• Bakery-Style Depth: A secret touch of instant coffee amplifies the chocolate flavor, creating a professional taste that rivals high-end patisseries.
• Ultra-Moist Texture: The optional use of sugar syrup ensures your cake layers stay incredibly soft and melt-in-your-mouth delicious.
• Endlessly Customizable: Use gel food coloring to create trendy pastel tones and pipe heartfelt, personalized messages for a truly unique touch.
• Perfect for Gifting: Tucked into a clear lunchbox with a ribbon and a mini spoon, these cakes are gift-ready and travel-friendly.
🛠 Tools You’ll Need
• Mini Cake Pans (4-inch pans are standard for bento cakes)
• Clear Lunchbox-Style Containers (for that iconic bento look)
• Piping Bags and Tips (for writing messages and decorative borders)
• Small Offset Spatula (for smooth frosting and crumb coating)
• Parchment Paper (to prevent sticking and help with lifting)
• Ribbon and Mini Spoons (for the final polished gift presentation)
🌟 Key Ingredients & Why They Matter
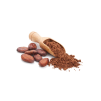
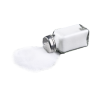
🍫 Cocoa Powder This is where the chocolatey magic begins! Choose a good-quality unsweetened cocoa powder for a rich, deep flavor that doesn’t overpower.
☕ Instant Coffee Powder Just half a tablespoon boosts the chocolate without tasting like coffee. Trust us—it’s the secret ingredient for that bakery-style depth!
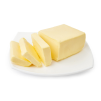
🧈 Unsalted Butter Room-temp butter makes your buttercream ultra-creamy and perfectly whippable. You want dreamy, not greasy!
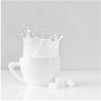
🍶 Heavy Cream (cold) A splash of cold cream lightens the buttercream and makes it cloud-like. It’s the final touch that elevates every swirl and dollop.
🎨 Gel Food Coloring Go for gel, not liquid. It gives vibrant pastel tones without watering down your frosting. Think cute sage green, dusty pink, soft blue—chef’s kiss for aesthetics.
🧁 Sugar Syrup (optional but golden) A quick brush of this keeps your cake layers super moist and gives that professional bakery feel. Just a little goes a long way!
🧁 How to Make Mini Chocolate Lunchbox Cakes
- Bake the Chocolate Sponge: Prepare your favorite chocolate cake batter (enhanced with cocoa and coffee). Pour into mini 4-inch pans and bake until a toothpick comes out clean.
- Cool & Level: Allow the mini cakes to cool completely. Level the tops with a serrated knife to ensure flat, stackable layers.
- Prepare the Buttercream: Beat room-temperature butter until pale and fluffy. Gradually add powdered sugar, vanilla, and a splash of cold heavy cream. Tint portions with gel food coloring for your pastel decorations.
- Assemble the Layers: Place the first mini layer on a piece of parchment. Brush with sugar syrup, add a layer of buttercream, and top with the second sponge layer.
- Crumb Coat & Chill: Apply a thin layer of frosting (the crumb coat) to seal in any loose crumbs. Chill for 15–20 minutes to firm up.
- Final Frosting: Apply a smooth final layer of buttercream using an offset spatula for clean, sharp edges.
- Decorate & Message: Use a small round piping tip to write your personalized message on top. Add cute borders or mini hearts in contrasting pastel colors.
- Package for Gifting: Carefully lift the cake (using the parchment) and place it into a clear lunchbox. Add a ribbon and a mini spoon for the perfect finish.
📦 Packaging & Gifting
✔ Chill cakes one last time for 10–15 minutes.
✔ Carefully lift from parchment and place into clear lunchbox-style containers.
✔ Add a ribbon or mini spoon for a polished gift-ready look 🎁
💡 Pro Tips for Perfect Mini Lunchbox Cakes
🌟 Chill layers for easier handling and cleaner edges
🌟 Use sugar syrup to lock in moisture (so soft, so good!)
🌟 Finish batter by hand to prevent air bubbles
🌟 Go pastel! They’re trendy, modern, and perfect for gifting
🌟 Make the message personal these cakes say more than words can
❄️ Freezing & Cold Storage Tips
🧊 To Store in the Fridge:
Wrap each mini cake in plastic wrap or place it in an airtight container. Store in the fridge for up to 3–4 days. Let the cake sit at room temp for 20 minutes before serving to soften the buttercream.
🧁 To Freeze (Before Decorating):
You can freeze the cake layers after baking and cooling. Wrap each layer tightly in plastic wrap, then in foil. Freeze up to 1 month. Thaw overnight in the fridge before assembling.
🎨 To Freeze Assembled (But Undecorated) Cakes:
Assemble and crumb-coat the cakes, then freeze uncovered for 1 hour to firm them up. Wrap tightly and freeze for up to 2 weeks. Add final frosting and decorations after thawing for the freshest look.
⚠️ Avoid freezing fully decorated cakes with piped messages—colors can bleed and textures may change.
💡 Pro Tip: Label your wrapped layers with date + flavor so you can prep ahead like a pro baker!
🆘 Lunchbox Cake Troubleshooting Guide
Problem: My mini cake is dry.
Likely Cause: Overbaking or skipping sugar syrup.
Solution: Check early and always brush with sugar syrup.
Problem: Piped message is bleeding.
Likely Cause: Liquid food coloring or warm frosting.
Solution: Use gel food coloring and pipe on a chilled cake.
Problem: Layers are sliding.
Likely Cause: Cake still warm or frosting too soft.
Solution: Chill everything before stacking.
Problem: Writing looks messy.
Likely Cause: Tip too large or frosting too stiff.
Solution: Use a size 1–2 round tip and soften frosting slightly.
🎉 The Sweetest Gift, Baked With Love
These mini chocolate lunchbox cakes aren’t just cute—they’re packed with flavor, style, and a whole lotta heart 💌. Whether you’re baking for someone special or treating yourself (you deserve it!), they’re sure to brighten any day. Don’t forget to snap a pic and share your masterpiece—#LunchboxCakes is waiting for you! 📸🍰
🔗 Related Posts:
- 💗 Pink Velvet Cake Recipe: The Dreamiest Blush-Colored Dessert Ever 💕
- Ultimate Unicorn Cake Recipe: A Magical, Rainbow-Topped Dessert 🦄🍰
- How This Fruit Cake Became a Holiday Favorite

Get Recipes on Pinterest
🍫 Mini Chocolate Lunchbox Cakes (With Cute Messages!) 🎀
Description
These viral worthy mini chocolate lunchbox cakes are soft, rich, and full of charm. Layered with fluffy vanilla buttercream and decorated with cute messages, they're perfect for birthdays, anniversaries, or just because. Easy to prep, super aesthetic, and totally giftable!
Ingredients
For the Chocolate Cake:

For the Dreamy Vanilla Buttercream:
For Decorating the Vibe:
Instructions
1️⃣ Make the Chocolate Cake Batter
-
Mix dry ingredients: flour, cocoa, baking soda, baking powder, salt, coffee powder, sugar.
-
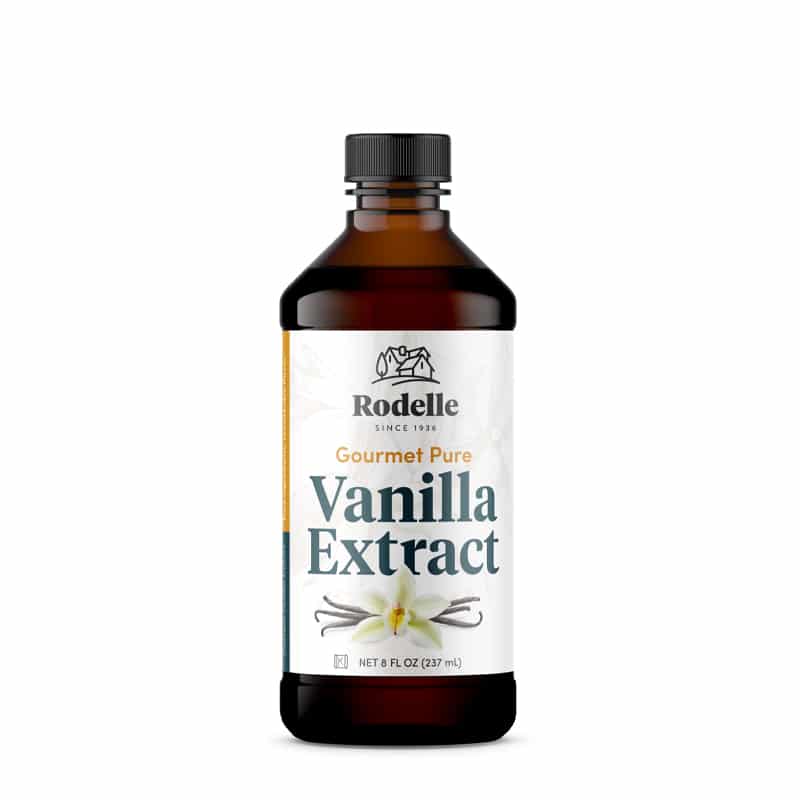
In another bowl, whisk egg, milk, butter, hot water, vanilla, and vinegar.
-
Combine wet and dry mixtures until smooth. Scrape bowl frequently!
-
Finish mixing by hand to pop large bubbles.
2️⃣ Bake & Cool
-
Pour into two greased 6" round pans.
-
Bake at 350°F (175°C) for 25–28 minutes.
-
Cool, then slice each cake in half horizontally to make 4 layers total.
-
Chill cake layers in the fridge for 10 minutes—they’ll be easier to handle.
3️⃣ Make Vanilla Buttercream
-
Whip softened butter with vanilla and salt.
-
Gradually add powdered sugar and beat until fluffy.
-
Add heavy cream and whip until smooth and spreadable.
4️⃣ Assemble the Cakes
-
On parchment paper, stack layers:
-
— Cake layer
— Thin buttercream layer
— Repeat
-
Lightly brush layers with sugar syrup for extra moisture (optional).
-
Apply a crumb coat to seal in crumbs. Chill 10–20 minutes.
5️⃣ Final Coat & Decorating
-
Cover the cake with a full coat of buttercream.
-
Smooth with a scraper. Fill any gaps.
-
Add colored cream accents for a pop of contrast (mix extra white for pastel pink).
-
Base color: sage green (leaf green + touch of brown + black).
-
Use tip #6 to pipe soft borders, tip #2 to write tiny messages like "happy bday".
-
Use tip #21 with pink cream to add decorative swirls.
Nutrition Facts
Servings 2
- Amount Per Serving
- Calories 350kcal
- % Daily Value *
- Total Fat 21g33%
- Saturated Fat 13g65%
- Trans Fat 0.5g
- Cholesterol 70mg24%
- Sodium 95mg4%
- Potassium 120mg4%
- Total Carbohydrate 38g13%
- Dietary Fiber 2g8%
- Sugars 26g
- Protein 3.5g8%
- Vitamin A 700 IU
- Calcium 40 mg
- Zinc 0.3 mg
* Percent Daily Values are based on a 2,000 calorie diet. Your daily value may be higher or lower depending on your calorie needs.