

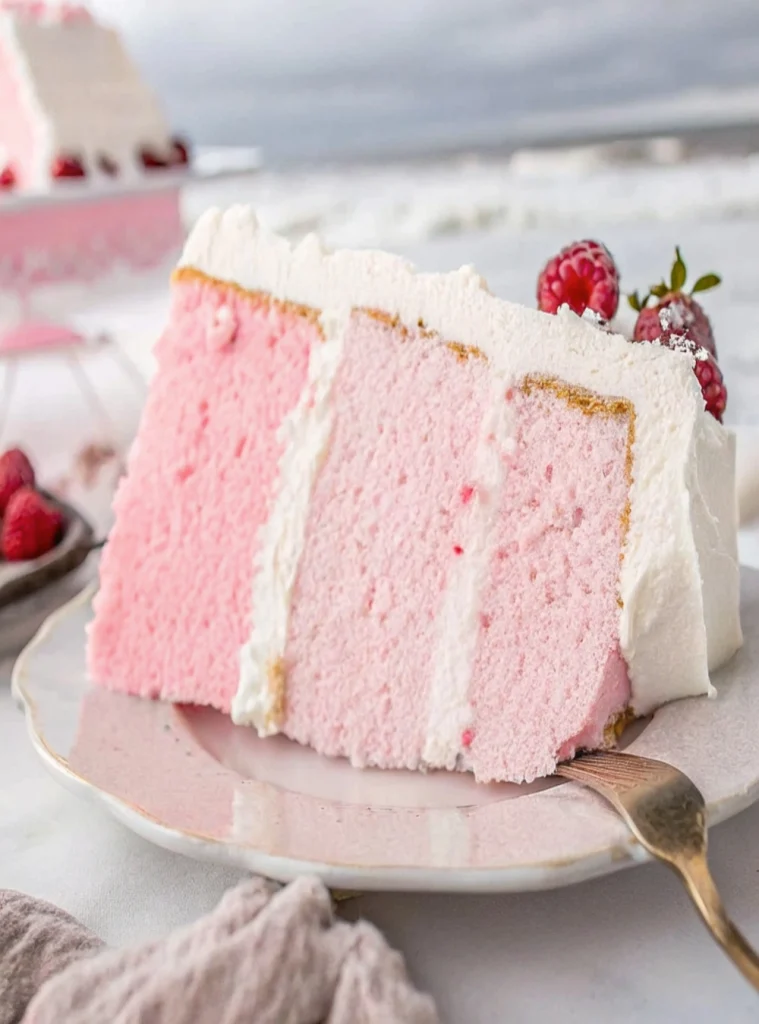
Want to indulge in an exquisite sweetness? 🍰 Imagine a cake that’s incredibly moist and infinitely tender. It’s adorned with a breathtaking pastel pink hue. This pink velvet cake isn’t just a dessert; it’s a true gourmet caress. Perfect for Valentine’s Day, a baby shower, or simply to brighten a romantic moment.
Made with buttermilk for an incomparable velvety texture, elevated by a cloud of stabilized whipped cream. Every bite promises pure magic on your palate. Ready to transform your table into a sweet masterpiece?
✨ Why You’ll Love This Pink Velvet Cake:
✔ Velvety texture thanks to buttermilk & reverse creaming
✔ Light blush-pink hue for a dreamy dessert table
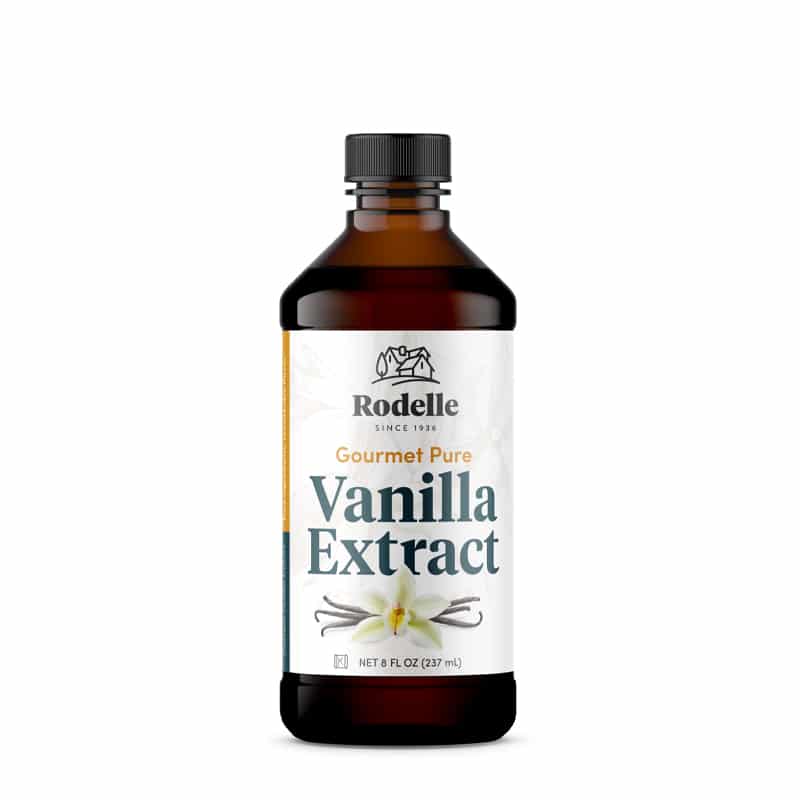
✔ Fluffy and moist, with a subtle vanilla flavor
✔ Topped with soft whipped cream & fresh raspberries
✔ Perfect for romantic occasions or elegant parties
📝Key Ingredients :
The magic of this cake lies in the harmony of its primary ingredients, each playing a crucial role in achieving perfect texture and taste:
The magic of this cake lies in the harmony of its primary ingredients, each playing a crucial role in achieving perfect texture and taste:
- Buttermilk: This is the secret ingredient 🤫 behind the cake’s velvety texture and incredible moistness. Its acidity reacts with baking soda to create a tender, light crumb.
- Egg Whites: By using only egg whites 🥚, we ensure a vibrant pink color 💖 without any yellow undertones that could dull the desired pastel hue. They also contribute to the lightness of the batter.
- Reverse Creaming Method: This unique mixing technique, where dry ingredients are combined with butter before liquids, is essential for developing the cake’s structure and guaranteeing a fine, delicate crumb 👌.
- Stabilized Whipped Cream: Unlike traditional whipped cream, the addition of gelatin ensures the frosting holds its shape perfectly, even at room temperature, for a flawless presentation and worry-free indulgence ✨.
🎉 Why This Cake is a Celebration Must
This pink velvet cake isn’t just stunning – it’s a true symphony of flavors and textures. Its melt-in-your-mouth tenderness makes it the perfect choice for all your celebrations: baby showers, anniversaries, or any other special occasion.
Its beautiful delicate pink hue immediately catches the eye, while its airy whipped cream provides an exquisite lightness. This is the cake that transforms every moment into an even sweeter and more memorable occasion.
💡 Pro Tips for the Perfect Pink Velvet Cake
✅ Use only egg whites to keep your color true pink.
✅ Don’t skip the 2-minute mixing step—it creates the velvet texture.
✅ Trim browned edges for aesthetic slices.
✅ Whipped cream too soft? Whip it longer for firmer piping.
✅ Want a frosting swap? Try cream cheese frosting or ermine buttercream.
This pink velvet cake isn’t just stunning – it’s a true symphony of flavors and textures. Its melt-in-your-mouth tenderness makes it the perfect choice for all your celebrations: baby showers, anniversaries, or any other special occasion.
Its beautiful delicate pink hue immediately catches the eye. The airy whipped cream provides an exquisite lightness. This is the cake that transforms every moment into an even sweeter and more memorable occasion.
🧁 Ready to bake your own pink masterpiece? Grab your mixer and show off your velvet skills. Don’t forget to share your cake photos and tag us!
🔗 Related Recipes:
- Ultimate Unicorn Cake Recipe: A Magical, Rainbow-Topped Dessert 🦄🍰
- How to Make the Best Malteser Cheesecake at Home
- Gender Reveal Cupcakes: Hidden Colors, Sweet Flavors!
Happy baking, velvet lovers! 💖🎂 Don’t forget to try this delicious Pink Velvet Cake!
💗 Pink Velvet Cake Recipe: The Dreamiest Blush-Colored Dessert Ever 💕
Description
This pink velvet cake is a showstopper, featuring a soft, moist, and tender crumb with a gorgeous pastel pink hue. Made with the precise reverse creaming method and frosted with a fluffy, stable whipped cream,
it’s perfect for any celebration. Each bite offers a delicate vanilla flavor, making it an irresistible treat that's easy to make and guaranteed to delight.
Ingredients
For the Pink Velvet Cake:

For the Stabilized Whipped Cream:
For the Cake Goop (Pan Release):
1️⃣ Mix Wet Ingredients
-
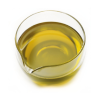
✔ In one bowl: whisk together 4 oz of buttermilk with vegetable oil.
-
✔ In another bowl: combine egg whites, remaining buttermilk, vanilla, and pink food coloring. Set aside.
2️⃣ Use the Reverse Creaming Method
-
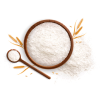
✔ Add flour, sugar, baking soda, baking powder, and salt to a stand mixer.
-
✔ Add softened butter in chunks and mix until sandy and crumbly.
-
✔ Pour in the buttermilk/oil mixture and beat for 2 minutes to develop texture.
-
💡 Why 2 minutes? It prevents too much gluten from forming and gives that velvet-soft crumb.
3️⃣ Add Color & Finish the Batter
-
✔ Slowly drizzle in the egg white mixture while mixing on low.
-
✔ Stop once the batter is smooth and evenly pink—it’ll look like strawberry ice cream!
🧁 Bake the Cakes
-
✔ Grease and flour 3 six-inch pans (or 2 eight-inch pans) with cake goop.
-
✔ Divide batter evenly and smooth the tops.
-
✔ Bake at 335°F (170°C) for 40–45 minutes or until a toothpick comes out clean.
-
Pro Tip: Gently tap the cake when it comes out of the oven to help release steam and prevent sinking.
-
✔ Cool cakes 10 minutes, then invert and cool completely.
-
✔ Wrap in plastic and chill for clean stacking.
🎂 Frost & Decorate
-
Make the Stabilized Whipped Cream:
-
✔ Sprinkle gelatin over cold water; let bloom.
-
✔ Heat briefly, then stir in cream to dissolve.
-
✔ Whip cream with sugar and vanilla to soft peaks.
-
✔ Add gelatin mix and whip to desired firmness.
Assemble the Cake:
-
✔ Trim browned edges (optional, but pretty!).
-
✔ Apply a crumb coat, then freeze 15 minutes.
-
✔ Add final layer of whipped cream. Smooth or use a comb for texture.
-
✔ Pipe rosettes and border with leftover cream.
🍓 Final Touches
-
✔ Garnish with fresh raspberries
-
✔ Dust with powdered sugar
-
✔ Chill for 1 hour before serving to set the whipped cream