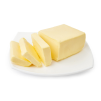
Cake pops are the ultimate bite-sized treats, perfect for any celebration or special occasion. Imagine moist cake crumbs blended with rich frosting, shaped into delightful balls, and dipped in a smooth, glossy layer of chocolate – pure bliss! Whether you’re planning a birthday party, a wedding, or just a sweet treat for yourself, cake pops are always a hit.
In this guide, we will show you how to make perfect cake pops. We will share tips and tricks to help them turn out beautifully every time.
Why You Should Make Cake Pops
Cake pops might seem challenging at first, but they’re actually quite easy to make with the right guidance.
Not only are they fun to create, but they’re also incredibly versatile. You can customize them with different cake flavors, frostings, and decorations to match any theme or occasion.
Follow along, and you’ll be making bakery-quality cake pops in no time.
Essential Tips for Making Perfect Mini Cake Balls
1. Choosing the Best Cake Recipe:
For delicious vanilla cake pops, start with your favorite vanilla or white cake recipe. If you’re pressed for time, you can use a boxed cake mix just as well.
The key is to use a homemade frosting, which balances out the flavor and texture, making the cake balls taste even more decadent.
2. Crafting the Perfect Frosting:
When using a boxed cake mix, avoid the pre-made frosting that often comes with it. Homemade frosting, with its fresh ingredients and superior flavor, is essential for achieving the perfect texture and taste. A simple buttercream or cream cheese frosting works wonders for cake pops.
3. The Right Frosting-to-Cake Ratio:
Begin by mixing about three-quarters of the frosting with the cake crumbs. This allows you to gauge the consistency. If the mixture easily rolls into balls, there’s no need to add more frosting.
Adding too much can result in cake pops that are overly soft and difficult to work with.
4. Rolling Cake Balls Like a Pro:
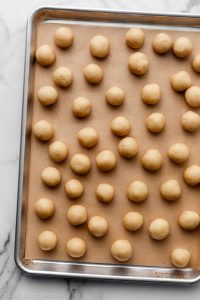
To make round cake balls, roll them once. Then, put them on a tray lined with parchment paper.
Chill them in the freezer for 10 minutes. You can also refrigerate them for 30 minutes. After this initial chilling, roll the balls again to smooth them out. This technique ensures that the cake pops hold their shape when dipped in chocolate.
5. Selecting the Right Chocolate:
For a smooth, even coating, use candy melts or couverture chocolate. These chocolates melt to a thinner consistency, making it easier to dip the cake balls.
To improve regular chocolate for cake pops, add some vegetable oil. Then, temper the chocolate. This will give the cake balls a nice crack when you bite into them.
6. Mastering Temperature Control:
As you dip and decorate your cake pops, keep an eye on the chocolate. If it starts thickening, gently reheat it to restore its fluid consistency. Also, ensure the cake balls remain cold – this prevents them from slipping off the sticks during the dipping process.
7. Keeping Cake Pops Upright While Setting:
To maintain that perfect round shape, let your cake pops set upright. If you don’t have a cake pop stand, improvise with a glass filled with rice or a piece of Styrofoam.
Both options work well to keep the cake pops steady as they cool and harden.
Step-by-Step Recipe: How to Make Cake Pops
Step 1: Prepare the Cake
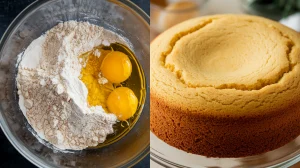
Start by baking your favorite vanilla cake or prepare a boxed mix according to the package instructions. For added moisture, incorporate a bit of vegetable oil. Once baked, allow the cake to cool slightly before transferring it to a large mixing bowl.
Step 2: Crumble the Cake
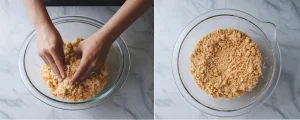
After the cake has cooled enough to handle, break it apart with your hands, crumbling it into fine crumbs. Ensure the crumbs are fully cooled before moving on to the next step.
Step 3: Make the Frosting
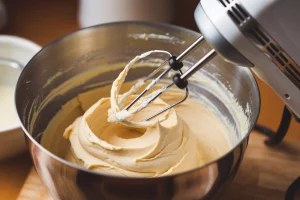
In a medium-sized bowl, combine softened butter, powdered sugar, vanilla extract, and a splash of milk. Use a hand mixer to beat the ingredients until the frosting is light, fluffy, and smooth.
Step 4: Combine Cake Crumbs and Frosting
Gradually add the frosting to the cake crumbs, starting with about three-quarters of the frosting. Mix until the cake is moist enough to be shaped into balls. If needed, add more frosting, but be careful not to overdo it.
Step 5: Shape the Cake Balls
Scoop out tablespoon-sized portions of the cake mixture and roll them into smooth, even balls. Place the balls on a lined tray and chill in the freezer for 10 minutes. After chilling, roll them again to perfect the shape, then return them to the freezer for an additional 30 minutes.
Step 6: Melt the Chocolate
Melt your chocolate in a microwave-safe mug, heating it in 20-second intervals and stirring between each round until smooth. Alternatively, melt it over a double boiler. Pour the melted chocolate into a cup deep enough to dip the cake balls.
Step 7: Dip and Decorate
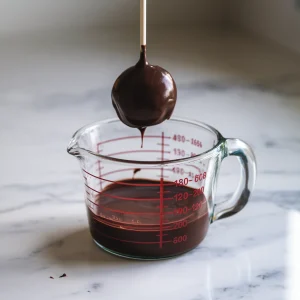
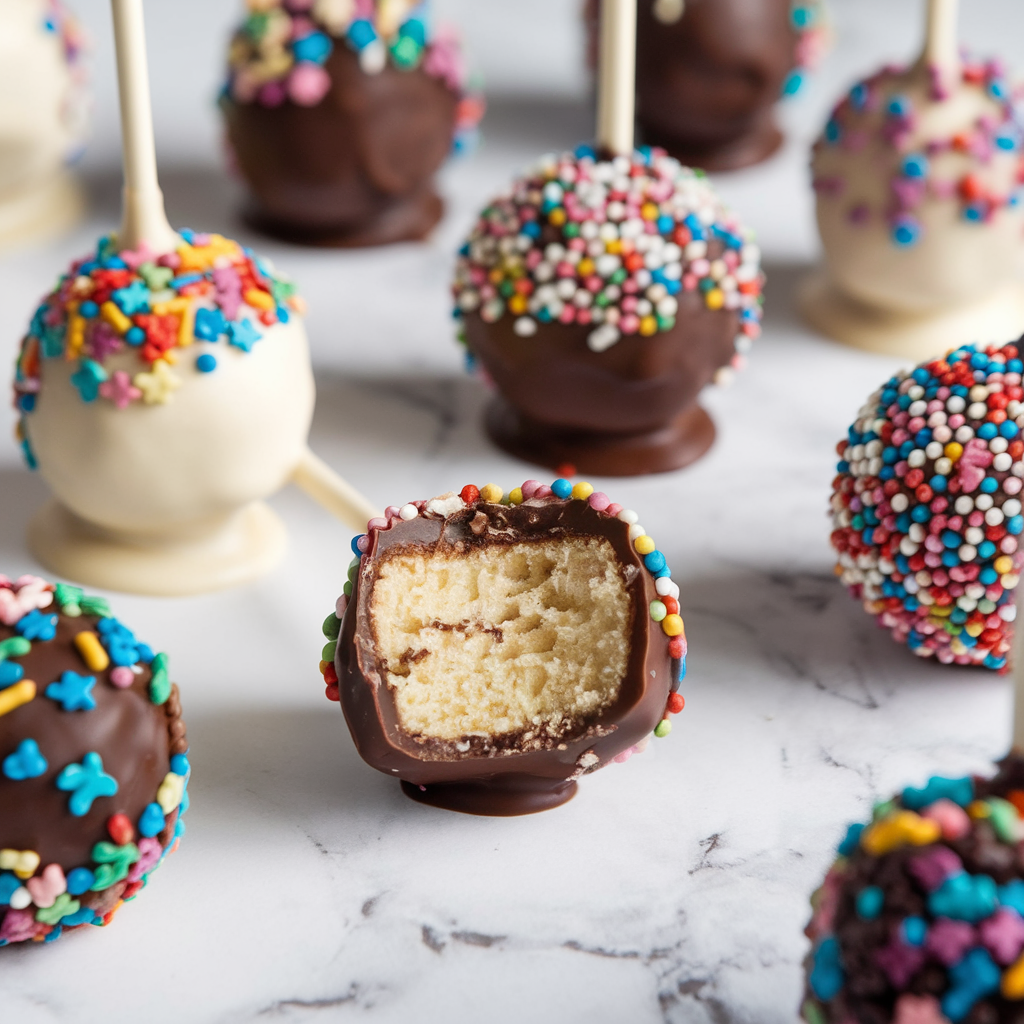
Dip the tip of each cake pop stick into the melted chocolate before inserting it halfway into a cake ball. This helps secure the stick. Then, dip the entire cake ball into the chocolate, swirling it around to coat evenly. Gently tap off any excess chocolate, then immediately add sprinkles or decorations before the chocolate sets.
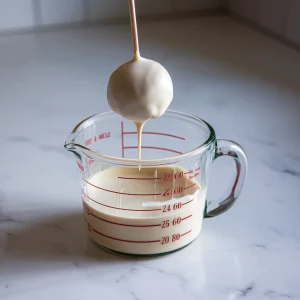
white chocolate or dark chocolate
Step 8: Allow the Cake Pops to Set
Place the cake pops upright in a stand, a glass of rice, or Styrofoam to set completely. Repeat the dipping and decorating process for the remaining cake pops. If the chocolate thickens or the cake balls soften, reheat the chocolate or chill the cake balls as needed.
Step 9: Serve and Enjoy
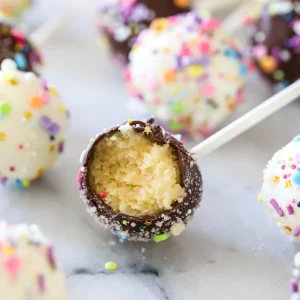
Once the cake pops are fully set, they’re ready to be served. Enjoy the sweet, satisfying crunch of the chocolate coating followed by the soft, flavorful cake inside.
Conclusion
With these expert tips and detailed steps, you’re now equipped to make perfect cake pops at home. Whether you’re a beginner or just looking to refine your technique, this guide has everything you need to create these delightful treats. Happy baking!
How to Make Perfect Cake Pops: Step-by-Step Instructions
Description
Cake pops are tiny treats that are both delightful and incredibly tasty! They're made from cake mixed with frosting, rolled into small balls, and then coated in chocolate - YUM! While they might seem a bit daunting at first, I promise they are actually quite easy to make once you get the hang of it. In this recipe, I'll share all my tips and tricks for creating perfect cake pops.
Ingredients
Cake :
Frosting
Additional Ingredients/Supplies
Instructions
Cake Preparation
-
Prepare the Cake Mix: Follow the instructions on the box for the cake mix, adding 1/4 cup (52g) of vegetable oil as directed.Pour the batter into a greased and floured 8-inch (20 cm) cake pan.
-
Bake: Bake at 180°C (350°F) for 25-30 minutes.Let the cake cool in the pan for 15 minutes, then remove it from the pan and cool completely on a wire rack.
Frosting Preparation:
-
Mix : In a bowl, cream together 1/2 cup (113g) of softened butter and 1 cup (120g) of icing sugar.
-
Add 1 teaspoon of vanilla extract and 1 teaspoon of milk. Mix until smooth and creamy.
Cake Pop Preparation
-
Crumble the Cake: Once the cake is completely cooled, crumble it into small pieces in a large bowl.
-
Mix with Frosting: Add about 3/4 of the frosting to the crumbled cake. Mix with your hands or a spoon until the mixture holds together when pressed. If the mixture is too dry, add more frosting.
-
Form the Balls: Take a tablespoon of the mixture and roll it into balls. Place them on a tray lined with parchment paper.Chill the balls in the refrigerator for 30 minutes to firm up.
-
Prepare the Chocolate: Melt 3½ cups of chocolate/candy melts in the microwave in 20-second intervals, stirring each time until smooth and fully melted.
-
Assemble the Cake Pops: Dip the tip of a cake pop stick into the melted chocolate, then insert it halfway into a cake ball to secure it.Dip the cake ball into the melted chocolate, swirling to coat it completely. Tap the stick gently on the side of the bowl to remove excess chocolate.
-
Decorate: Before the chocolate sets, sprinkle with decorations like sprinkles.
-
Let Set: Place the cake pops upright in a cup with rice, a cardboard box with holes, or Styrofoam to hold them in place while the chocolate hardens.
Note
Tips :
- If the chocolate thickens, reheat it gently.
- If the cake balls become too soft, chill them again before coating


